I will be able to harvest the lettuce leaves in a few days or a week. The spinach needs some more time.
This blog is about my backyard organic gardening, harvesting and recipes. What works and doesn't work. Indoor and outdoor vegetable gardening and my backyard birds.
Tuesday, November 16, 2010
Indoor Vegetable Garden Update
Just a quick update on my lettuce, spinach, and red peppers. As you can see by the photos everything seems to be growing well. I have already picked two red peppers and have another one that will be ready in a few days. The blossom didn't make it and I think that is because of the lack of nutrients in the soil even though I am watering with compost tea.
I will be able to harvest the lettuce leaves in a few days or a week. The spinach needs some more time.
Happy Gardening
I will be able to harvest the lettuce leaves in a few days or a week. The spinach needs some more time.
Saturday, November 6, 2010
Winter Sown Seeds
I recently read a blog about sowing cool weather crop seeds over the winter. From what I read it didn't seem too difficult and resembles a cold frame or mini greenhouse. I would love to have fresh greens waiting to be harvested when the snow melts. Quite intrigued , so I decided to give it a try.
First you need some plastic containers with lids. I am using the containers that my spring mix came in. They are a nice size and have a lid. I also had some starter cells and thought I would use them so transplanting in the spring would be a bit easier.
You need to cut holes in the bottom of your container for drainage and the top for air circulation. According to the article I read, next spring when the days get warmer, you will need to make these holes larger so your crops don't get too hot. Mark the container with the name of the crop you are growing in it. Easier to do now then when it is full. I marked mine on the top and bottom just in case the weather makes in unable to read next spring.
Fill your containers about half way with good soil and then water. Make sure your container drains well, otherwise your seeds will rot. Sow your seeds according to the manufacturer. Secure the lid and put outside where you would grow that particular crop. I placed mine in my raised bed where I grow my leafy greens.
There you have it. Hopefully, I will be harvesting leafy greens early next spring. Will post an update then.
For more info and free seeds go to http://www.wintersown.org/
First you need some plastic containers with lids. I am using the containers that my spring mix came in. They are a nice size and have a lid. I also had some starter cells and thought I would use them so transplanting in the spring would be a bit easier.
You need to cut holes in the bottom of your container for drainage and the top for air circulation. According to the article I read, next spring when the days get warmer, you will need to make these holes larger so your crops don't get too hot. Mark the container with the name of the crop you are growing in it. Easier to do now then when it is full. I marked mine on the top and bottom just in case the weather makes in unable to read next spring.
Fill your containers about half way with good soil and then water. Make sure your container drains well, otherwise your seeds will rot. Sow your seeds according to the manufacturer. Secure the lid and put outside where you would grow that particular crop. I placed mine in my raised bed where I grow my leafy greens.
There you have it. Hopefully, I will be harvesting leafy greens early next spring. Will post an update then.
For more info and free seeds go to http://www.wintersown.org/
Wednesday, November 3, 2010
My Compost Tea
What is my compost tea?
It is just a shovel full of compost (homemade or store bought) placed in a 5 gal bucket filled with water. Stir it so the compost is distributed through the water. You can let it sit for as long or as little as you want before using. I let mine "steep" for at least 2 hours and as long as a week before using on my plants. Nothing fancy but it does the trick.
I used this solution about once a week on my outdoor plants during the growing season and currently on my indoor plants. It is a great way to naturally feed your plants, especially the ones that have been sitting in the same container soil for more than a few months.
Just use it they way you would use water for watering your garden or potted plants.
Happy Gardening
It is just a shovel full of compost (homemade or store bought) placed in a 5 gal bucket filled with water. Stir it so the compost is distributed through the water. You can let it sit for as long or as little as you want before using. I let mine "steep" for at least 2 hours and as long as a week before using on my plants. Nothing fancy but it does the trick.
I used this solution about once a week on my outdoor plants during the growing season and currently on my indoor plants. It is a great way to naturally feed your plants, especially the ones that have been sitting in the same container soil for more than a few months.
Just use it they way you would use water for watering your garden or potted plants.
Happy Gardening
Sunday, October 31, 2010
Indoor Vegetable Garden Update
One week ago today I started an indoor vegetable garden. Two peppers, two tomatoes, lettuce and spinach.
Well, the tomatoes were not looking good, I believe the tops that I brought in had late blight. So I decided to dispose of them.
The peppers are doing well. I harvested one medium sized pepper over the weekend and it was quite tasty. I have four more and a new blossom. :) So I will continue to water with compost tea every week and see how this blossom turns out.
The lettuce and spinach are doing well too. They seem to be reaching a bit but are staying green and healthy looking. I will continue to water them with compost tea. Also, I turn the container every other day to keep the plants from growing to one side or the other.
All in all, not a bad start except for the tomatoes. Maybe I will try to start a few from seeds.
Happy Gardening
Well, the tomatoes were not looking good, I believe the tops that I brought in had late blight. So I decided to dispose of them.
The peppers are doing well. I harvested one medium sized pepper over the weekend and it was quite tasty. I have four more and a new blossom. :) So I will continue to water with compost tea every week and see how this blossom turns out.
The lettuce and spinach are doing well too. They seem to be reaching a bit but are staying green and healthy looking. I will continue to water them with compost tea. Also, I turn the container every other day to keep the plants from growing to one side or the other.
All in all, not a bad start except for the tomatoes. Maybe I will try to start a few from seeds.
Happy Gardening
Saturday, October 30, 2010
Dehydrating Apples
Dehydrating apples is very easy to do if you have a dehydrator. Begin by washing and drying your apples if you intend to leave the skin on. To keep the apples from turning brown you need put them in a bowl with water and one tablespoon of lemon juice. Take a large sharp knife to cut the apples into one quarter inch slices from blossom end to stem end and remove the core. Place them in the lemon water.
After you have the amount needed to fill your dehydrator, lay the slices on your trays in one layer with no overlaps. I have a thermostat on my dehydrator and set it at 140. I let it run overnight for approximately twelve to fourteen hours. You will know that the apples are finished if they snap when broken. If they are bending and not snapping you will need to run the dehydrator a bit longer.
Store your dehydrated apples in an airtight container to keep them fresh. I have been able to keep mine for several months so far. I love having these apple snacks handy when I need something sweet and crunchy.
Enjoy!
Wednesday, October 27, 2010
Homemade Applesauce
I picked apples yesterday and decided to make some applesauce with some of them. It is very easy to do and is better then any applesauce you can buy at the grocery store.
First you need to core, peel and slice your apples into a large kettle. I have a handy device that cores, peels and slices apples that I bought from a kitchen store. It is well worth the money unless you like doing all of the work involved. I used about eighteen to twenty apples. This filled my kettle about two thirds full and then I added water to cover the apples about half way. Turn heat to med high and bring to a boil. Once it is boiling turn down to med and simmer for about twenty to thirty minutes depending how full your kettle is.
Once the apples have cooked down I take a potato masher to them until they are all mashed and depending on how runny they are I may cook longer to get to the desired consistency. If you are using ripe apples you do not need sugar but may want to add cinnamon and vanilla for added flavor. I do not add cinnamon or sugar.
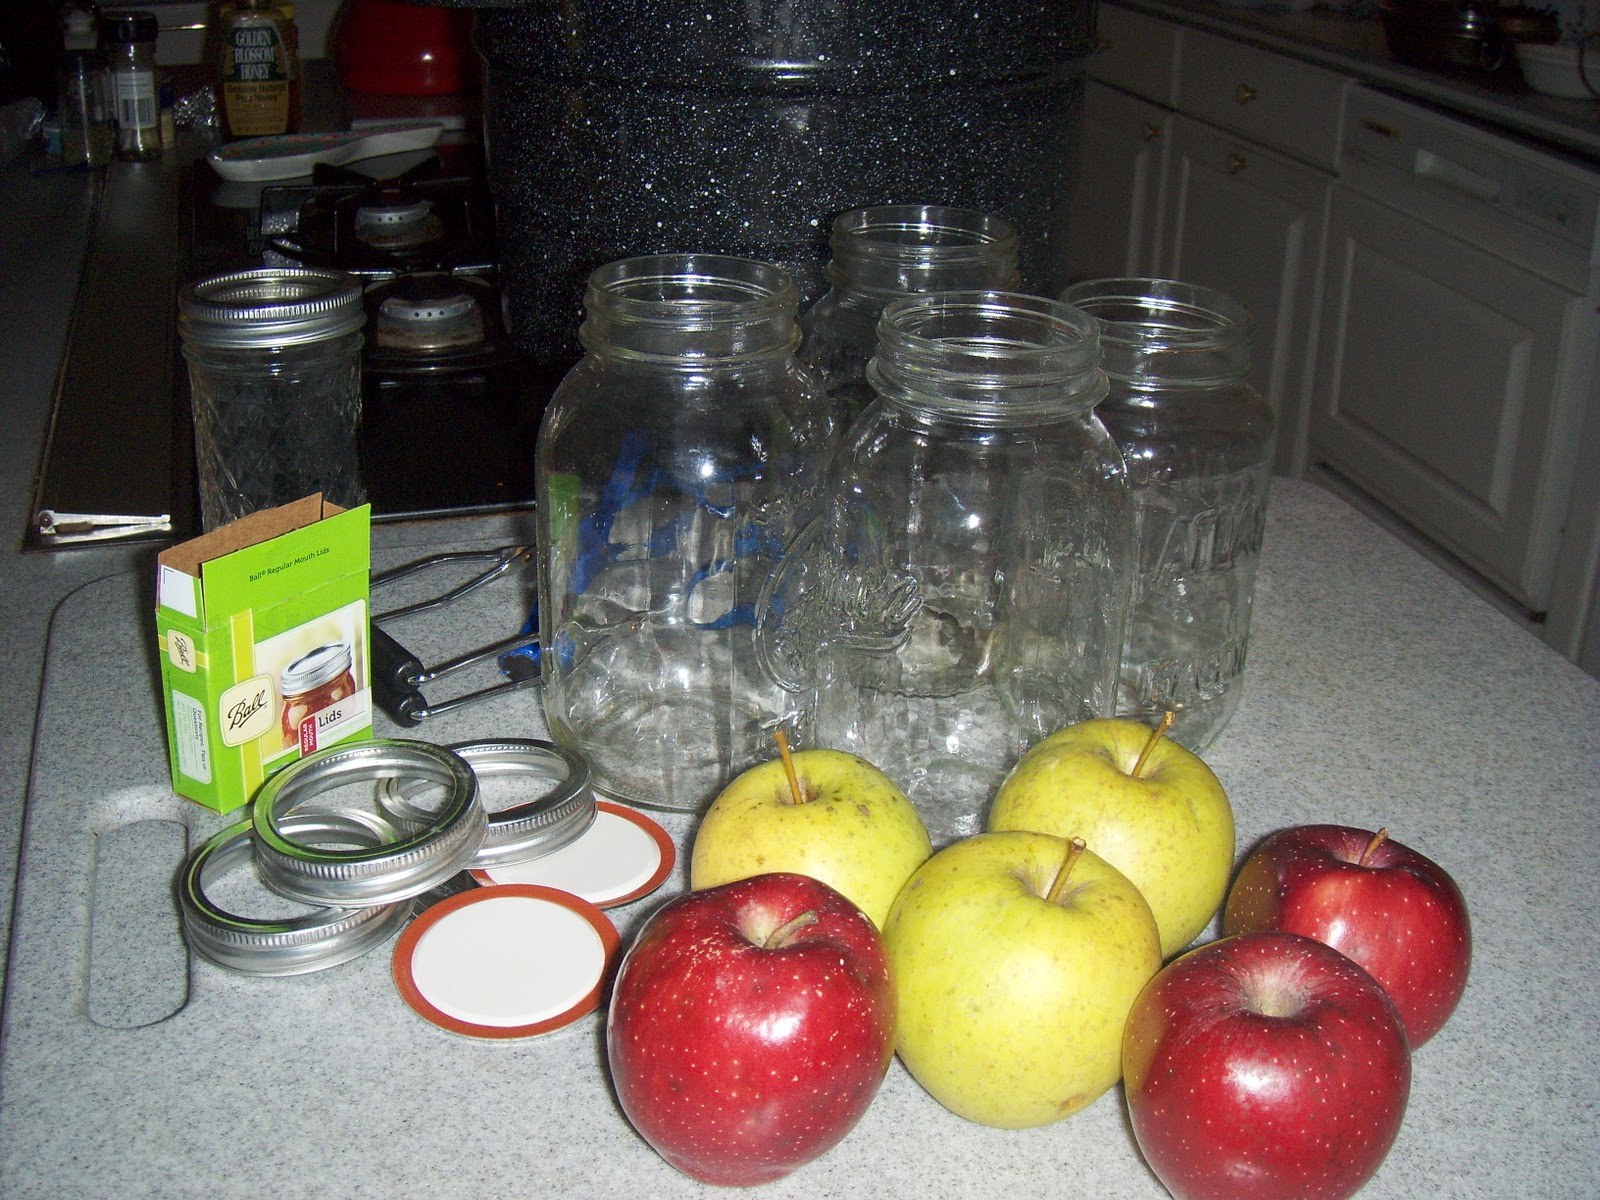
In order to preserve you can put applesauce into freezer containers and freeze or you can preserve in mason jars but will need to water bath for storage. I canned my applesauce today because my freezer space is limited.
Clean and sterilize your mason jars and place your rims and lids in hot water but not boiling. Use a canning funnel to fill jars to one quarter inch from top. Wipe any sauce that may be on the edge of jar so you get a good seal. Place lid on jar and hand tighten with rim.
I have a large water bath kettle with a metal rack but you can use a thick bottomed kettle if you make sure it is deep enough to hold the jars, water to fill one inch over the lids and enough space for the boil so it doesn't splash out. Place your jars in first so you will know if your kettle is adequate. Bring to a boil with lid and process fifteen minutes for quart jars and ten minutes for pints. Lift jars from water and let stand overnight until cool. Enjoy!
First you need to core, peel and slice your apples into a large kettle. I have a handy device that cores, peels and slices apples that I bought from a kitchen store. It is well worth the money unless you like doing all of the work involved. I used about eighteen to twenty apples. This filled my kettle about two thirds full and then I added water to cover the apples about half way. Turn heat to med high and bring to a boil. Once it is boiling turn down to med and simmer for about twenty to thirty minutes depending how full your kettle is.
Once the apples have cooked down I take a potato masher to them until they are all mashed and depending on how runny they are I may cook longer to get to the desired consistency. If you are using ripe apples you do not need sugar but may want to add cinnamon and vanilla for added flavor. I do not add cinnamon or sugar.
In order to preserve you can put applesauce into freezer containers and freeze or you can preserve in mason jars but will need to water bath for storage. I canned my applesauce today because my freezer space is limited.
Clean and sterilize your mason jars and place your rims and lids in hot water but not boiling. Use a canning funnel to fill jars to one quarter inch from top. Wipe any sauce that may be on the edge of jar so you get a good seal. Place lid on jar and hand tighten with rim.
I have a large water bath kettle with a metal rack but you can use a thick bottomed kettle if you make sure it is deep enough to hold the jars, water to fill one inch over the lids and enough space for the boil so it doesn't splash out. Place your jars in first so you will know if your kettle is adequate. Bring to a boil with lid and process fifteen minutes for quart jars and ten minutes for pints. Lift jars from water and let stand overnight until cool. Enjoy!
Monday, October 25, 2010
Automatic Sprouter
I love eating sprouts but I hate all the time and energy it takes to soak and rinse and rinse and drain and so on. So I decided to search for an easier way and found a great product called The Easy Green Auto-Sprouter. All you do is pull it out of the box, set the timer which comes with it, connect the hose, fill the reservoir with water and plug it in.
It comes with 5 trays for sprouting. Sprinkle the seeds in the tray, put the tray in the sprouter and it does all the watering which is set with the timer. These broccoli seeds are starting to sprout after 24 hrs.
These sprouts are only 3 days old but you can harvest them at what ever stage you like. I usually let them go 5 days for broccoli and 3 days for radish. It is fun to experiment with the different stages. You can sprout alfalfa, red clover, sunflower, buckwheat, beans and any other seed you can think of.
You can buy it at Amazon. A great way to grow year round. I love it!
Happy Gardening
Subscribe to:
Posts (Atom)