Wednesday, March 30, 2011

Nesting Materials for the Birds

 For the past several years I have been putting out dog fur for my backyard birds. It is a joy to watch my feathered friends gather our golden retrievers fur for their nests. I have seen tufted titmice, black capped chickadees, goldfinch, and even an oriole tugging away at the fur.


If you don't have any dog fur of your own, you may want to stop by a local groomer and request a bagful. Our groomer is more than happy to give fur away. If that isn't an option, you could gather some old string pieces, yarn, raffia or ribbon. Robins love the larger materials so anything that is "string like" would work.


Stuff your nesting materials in a container that has openings. I use an old wire planter and a suet cage that I hang out on a shepherds hook. You could also hang it on a nearby tree or shrub. Make sure it is close by so you can watch all the fun.


Happy Birdwatching!

Tuesday, March 29, 2011

Transplanting Tomato and Pepper Starts

My tomato and pepper plants are getting too long and leggy for the starter cells so I decided to transplant them into a solo cup. You could use any type of container but I find that these cups are the perfect size for these transplants. From the cup I will transplant into my raised bed garden in the beginning of May.


I punched some holes in the bottom for drainage and added my soil mix of 1 part compost, 1 part peat moss, 1 part vermiculite.


When transplanting tomatoes, I am burying them deeper into the cup and filling the soil up to the  leaves. As they grow I will add more soil mix. This will make the root system stronger. The pepper plants will be transplanted the same way.


Don't forget to mark your cups with name of the plant. Very frustrating to try and remember what type of tomato or pepper you transplanted. Also, I am setting the cups on a tray to catch the excess water and making it easier to move into the sun. Starting tomorrow I will be placing the tray into the direct sun for an hour or two and gradually building up to a full day of sun.

I will still be placing the trays on the rope lights at night for warmth. So far so good....time will tell whether or not the transplants were successful.

Starting seeds is a great way to grow a variety of plants that you may not be able to get at a nursery.
Happy Gardening!

Thursday, March 24, 2011

Update on HoopHouse and Indoor Seed Starts

Just a quick update on the progress of the indoor seed starts and the hoophouse seedlings. Everything is going well and the hoophouse is up just in time for a cold spell we are having this week here in South Central PA.


 The indoor/outdoor rope lights are working very well to heat the seedlings. The peppers, basil and tomatoes seem to like the heat.  I do notice that I am watering more often but I guess that is to be expected. I did add a piece of aluminum foil over the light for reflection and I am rotating the tray every other day. 


The seedlings in the hoophouse are doing very well. I have watered only when needed to keep soil moist.  Also,  have been opening the ends and sides when the temperature gets up over 50 degrees. The air circulation is needed to prevent mold and/or stem rot, otherwise it would be too wet.
 

As you can see from the photos, the lettuce and spinach (started indoors) are growing fast and I see kale, swiss chard, arugula, bok choi and pak choi coming up.


I hope you are enjoying the new gardening season.
Happy Gardening!

Thursday, March 17, 2011

Easy Backyard Coldframe HoopHouse

I wanted to get a head start on my gardening season and thought a coldframe would do the trick. Much to my surprise there were quite a few tutorials of different styles out in the internet world. This one seemed to be the easiest and least expensive. Total cost under $20.


I am putting this coldframe/hoophouse over my exsisting 4 by 8 raised bed.
For this size you will need:

5 - 1/2 " - 10' pvc pipes--cut to 6' length by clerk
1 pack of 10 - 1/2" brackets
Clear 3mm clear plastic to cover frame
Drill with 1/8" bit
Wood screws- 1"
Clamps to hold plastic onto ribs


Start with 1/2 "  brackets. Mark where you want the brackets to sit on your frame. I just eyeballed it around 2" from top of wood. Drill on the mark and then screw brackets in place. Don't completely tighten until the pvc pipe is in place. I started at the end and measured about 1 1/2' between brackets  for my 8' length. Do this for all 10 brackets. 


Once you have the brackets in place you can attach pvc pipe one end at a time. Pull plastic over the ribs and cut off excess if you like. I did not because I will use it for other projects. I use clamps to hold plastic on so it is easy to open . When finished it kinda looks like a covered wagon.


You could make a 4 by 8 frame for the frame (if that makes sense) to put directly over the ground where you have your garden. Just use some 2 by 4's to make the frame.

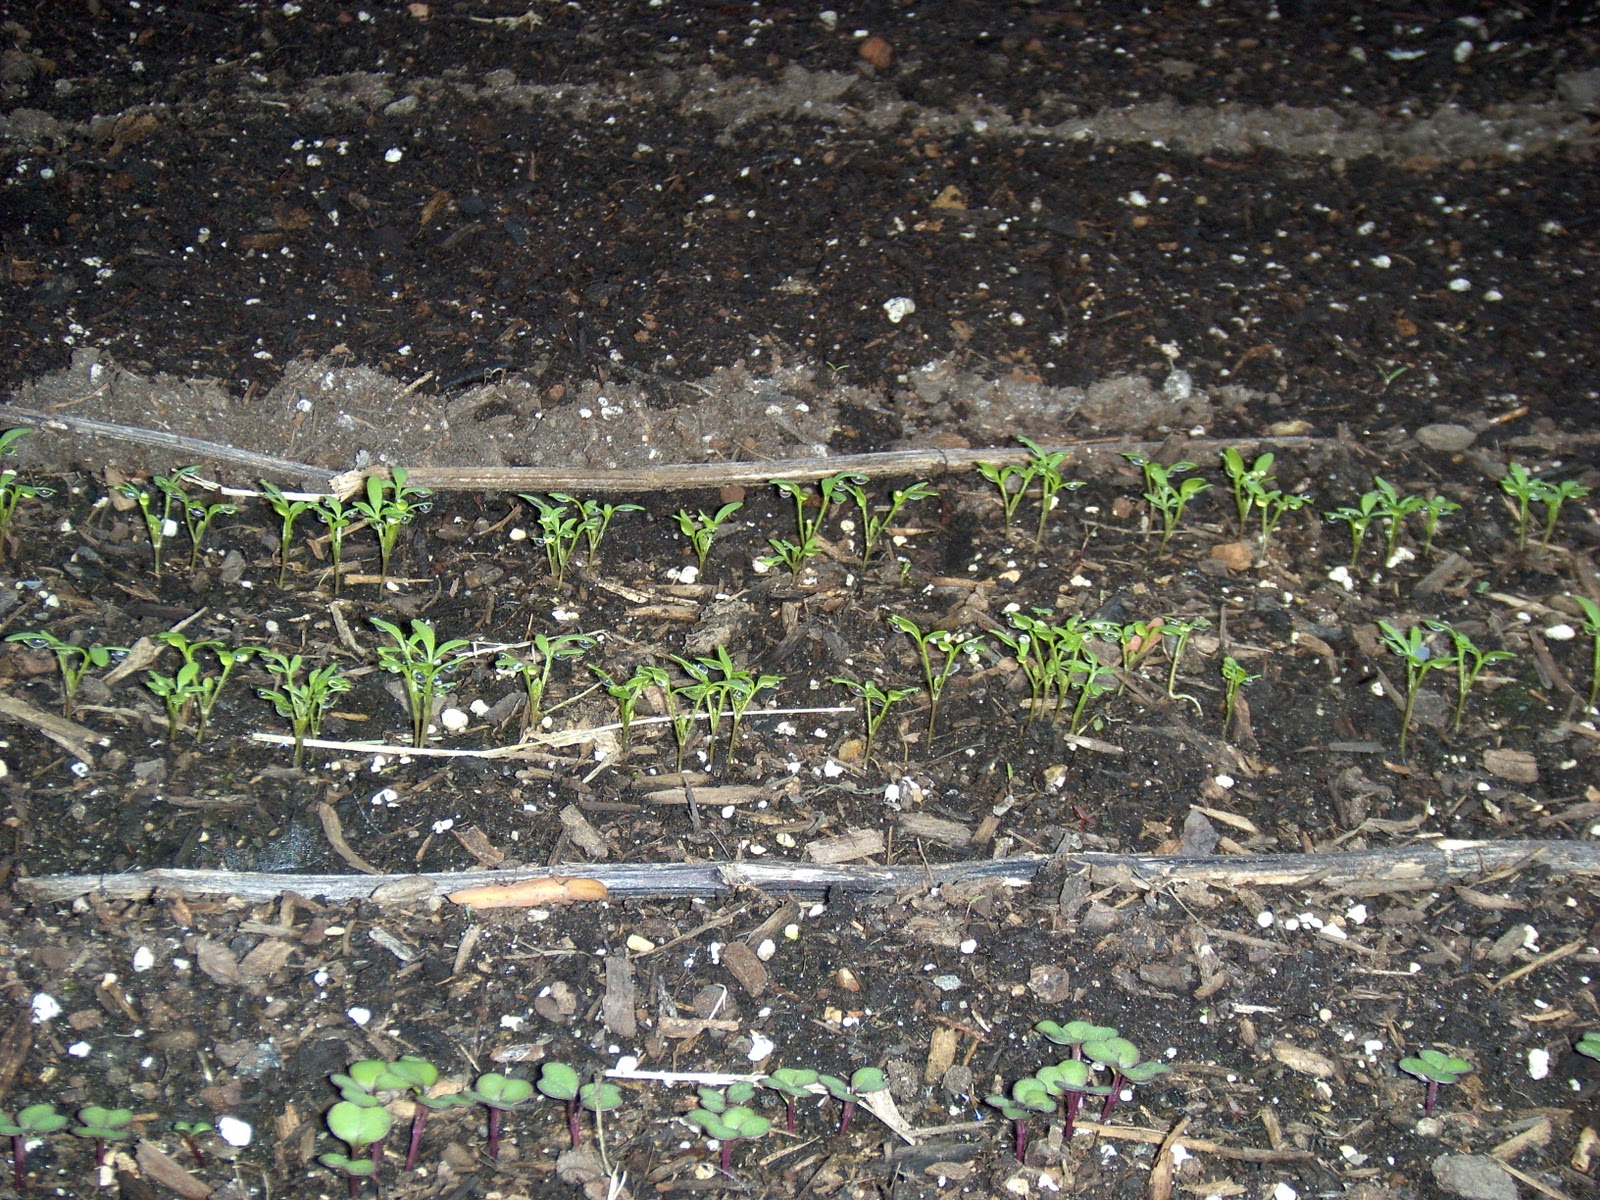
This is a temporary fix to jump start on my cold weather crops...I have been using it for the last 2 weeks and it is doing very well. I am making a taller one for my tomato and pepper raised bed too.

When the weather permits, just take off the plastic and pull out the piping. Much easier to store than a hard construction coldframe.

Happy Gardening!

Tuesday, March 15, 2011

Starting Seeds Inside

I was watching a guy on YouTube starting seeds indoors with a regular heating pad for germination.
Well, the problem with the heating pad is that water and electric really don't mix so you would have to be really careful with that setup. So I was taking down some christmas rope lights and felt the warmth they were giving out and thought they might work.


I set them up in a flat coil shape and let them heat up a bit just to see what kind of warmth they would put out.  It felt like enough to do the task so I planted my starter tray with seedling soil (1 part compost, 1 part vermiculite, 1 part peat moss) seeds and watered . Placed the tray on top of the coil and waited. Around the 5th day I started to see some of the pepper seedlings come up.

This picture was taken around the 10th day. Really pleased with the results and I don't have to worry about spilling water because they are indoor, outdoor lights.


I dug through my garden closet and came up with a grow light that I bought at the local garden department some time ago. I didn't have much success with it last season without the heat underneath the seedlings so I am giving it another go with this new setup. So far so good.


If you start seeds indoors and are looking for an inexpensive way to heat for germination, you may want to try rope lights. The one I am using is clear but I don't believe the color would make any difference.

Happy Gardening!

Wednesday, March 9, 2011

Planting Jerusalem Artichokes

Jerusalem artichokes, or Sunchokes, are new to me. I was just introduced to them recently and really like the flavor and texture. It is very similar to a water chestnut and can be cooked like a potato or eaten raw. The benefit to this tuber is that it does not contain or turn to starch. So I decided to try to buy some and discovered that they are hard to find. Solution....grow my own.

I finally found them at a local natural foods store which is very similar to Trader Joe's. The chokes were organic and not treated so I bought a few extra to plant. Like a potato, they sprout eyes so I found a few that were growing.


After some web searching, I found that they are even easier to grow then potatoes. They will grow in most soil and light conditions but do best in full sun. They grow very tall and flower very much like a sunflower. For more tubers you should clip the blooms off. They can be invasive and should be planted in their own corner of the garden or a container. Harvest in the late fall and through early winter before the ground freezes. Leave some in the ground for next years crop. Storage is short and should be kept moist but not soggy.


I have limited garden space, so I have chosen to plant them in an old recycle bin. It is the perfect size and already has drainage holes. My soil is a mix of one part compost, one part peat moss and one part vermiculite and perlite mixed. I am planting six tubers evenly spaced in this container with four inches of soil mix on the bottom and four or five inches of soil mix to cover them. I may add more soil once they start growing. Water and place in a sunny location. Can't wait to see the results.

Hopefully you can try this "new to me" tuber too.
Happy Gardening!

Tuesday, March 8, 2011

Winter Sown Seeds Update

The results were a bit underwhelming to say the least, but still had a few starts for the garden as you can see.


Out of the six containers that I had sown only two gave me starts of lettuce and spinach. I believe it was due to the insufficient drainage holes that I had put in the container. The starter cells all seemed to be water logged when I opened them. I kept the tops off for a few days to dry them out and that seemed to help a bit.


I also started some leafy greens in a mini greenhouse container and they seem to be coming along very well.. You can buy them at your local garden supply department. I will transplant them in a week for some early crops.

Regardless of the disappointing results, I will be trying this procedure again next winter but with more drainage.

Happy Gardening!